
How to Finish Cross Stitch in a Hoop
Finishing a piece in its hoop takes about twenty minutes and needs no framing skills. You trim the excess fabric to roughly an inch beyond the hoop, gather it behind with a running stitch, pull it tight, and cover the back with felt.

It is the most forgiving way to display cross stitch, and unlike framing it can be undone if you change your mind.
What you need
- The hoop you want to display it in — wooden hoops look better than plastic for this
- Scissors
- A needle and any strong thread, colour does not matter
- Felt in a colour close to your fabric
- Fabric glue, if you use the glue method
Before you start: wash and press
Do this even if the piece looks clean. Hands leave oils that show up years later, and hoop marks set permanently once the fabric is stretched.
Hand wash in cool water with a little mild soap, rinse, roll in a towel to remove water, then press face down on a towel with a warm iron. Pressing face down stops the iron flattening your stitches.
Method one: gathered and laced
- Mount the piece in the hoop and centre it. Tighten the screw firmly and pull the fabric evenly from all sides until it is drum-tight.
- Trim the excess fabric to about one inch beyond the outer hoop.
- Thread a needle with a long doubled thread. Sew a running stitch all the way round the raw edge, about a quarter inch in, and leave both ends loose.
- Pull both ends. The fabric gathers behind the hoop like a drawstring bag. Pull until it is snug and flat, then tie off.
- Cut a felt circle slightly smaller than the inner hoop and stitch or glue it over the back.
This is the method I use. Nothing is permanent, the tension is adjustable, and the piece can be taken out later.
Method two: glued
Faster, and irreversible. Mount and tighten as above, trim to half an inch, then run fabric glue around the inside of the outer hoop and press the raw edge down into it. Let it dry fully before adding felt.
Use this when the hoop is definitely the final home for the piece. Do not use it on anything you might want to frame properly later.
Getting the tension right
The single thing that separates a neat finish from a saggy one is even tension. Work around the hoop in stages rather than pulling one side tight and then moving on — quarter turns, like tightening the wheel nuts on a car.
If the weave looks distorted, it is too tight. Aida should look square, not stretched into rectangles.
Choosing the hoop
Leave at least half an inch of plain fabric between your stitching and the inner edge of the hoop, or the design will look cramped. Our listings state the finished size, so you can pick the hoop before you start rather than discovering the problem at the end. A small chart like Sunrise Over Water at 80 × 80 stitches finishes just under six inches on 14 count, which sits comfortably inside a seven inch hoop.
Small designs suit this finish especially well — a five inch hoop on a wall reads as deliberate, where the same piece in a large frame looks lost. The small and mini patterns are all sized for hoop finishing.
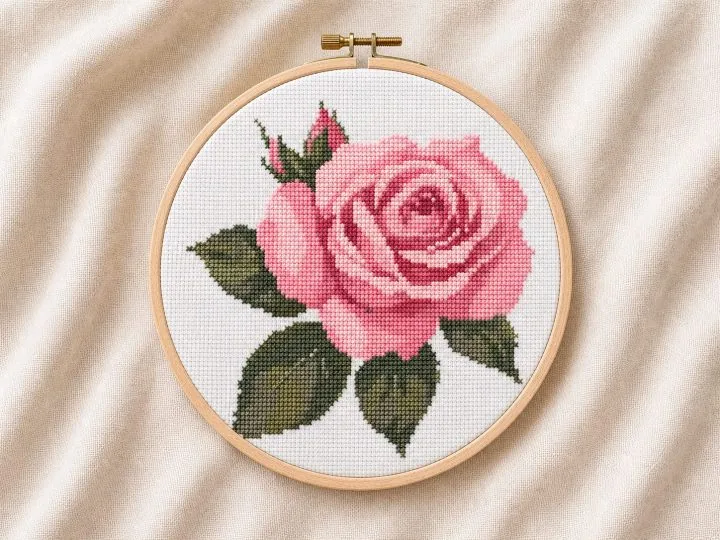
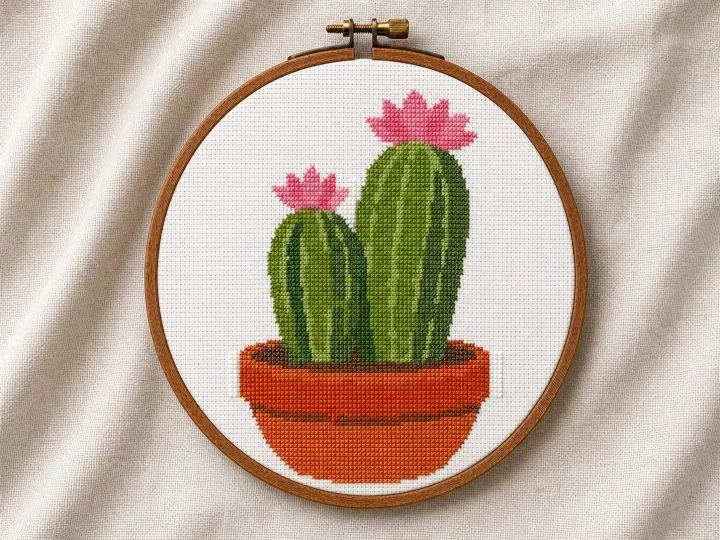
Patterns that look good in a hoop
Instant PDF download from $3.77. Printable and mobile charts, Pattern Keeper file and full DMC list.



Common questions
Will the fabric sag over time?
Slightly, in humid conditions. Retighten the screw and pull the gathers again — with the laced method this takes a minute.
Can I paint or stain the hoop?
Yes, before mounting. Let it dry completely, or it will mark the fabric.
What if my fabric margin is too small?
Below about half an inch beyond the hoop there is not enough to gather. You can stitch a strip of spare fabric to the edge to extend it — it is hidden behind the felt.
Does the hoop damage the stitches?
Not if the piece was washed and pressed first, and not if you avoid over-tightening. Long-term, direct sunlight fades thread far faster than a hoop harms it.